Friday, 27 March 2015

Steampunk Mermaid Journal Cover

Hi everyone welcome back to my happy place and the last Design Team project for Imagine if!
I have truly enjoyed my crafting journey for the last 12 months creating pretties with the laser cut chipboard and MDF from Imagine if!
 
Remember to go visit for all your crafting supplies!
 
This weeks design Team Project Theme is Dolls and Tails.
I also had some wings to play with from one of my other projects.


Firstly I used some texture paste and a stencil to make the little circles aka barnacles or scales.
Once this was dry I used Tim Holtz distress ink 'peeled paint' over the area of circles I then painted with Inca gold, this gave a lovely effect.

 
For the tail I had a spare piece of paper that looked like scales which was of course perfect!
 I went around the edges with Tim Holtz distress ink 'pumice stone' to give a slight dirty/grunge look.
I then wrapped some string netting around her tail to look a little like she had been caught in some debris.
 
 
I  used some more of the same netting to make her hair, Painted her wings to look like scraps of metal, attached a few chains and an anchor, painted some lips on and placed a heart in her hand.


She makes a great journal cover don't you think?


Tuesday, 10 March 2015

"Locks and Keys" Tag

Hi everyone and welcome back to my "Happy Place"
and another Design Team Project for Imagine if!
 
This week theme is "keys and Locks" I have decided to have a "Play" with some Mixed Media!


The first thing I did to give myself something to work with
 I made an oversized tag measuring 7" x 4" from some sturdy chipboard and gave the back and front a good coverage of gesso.


Then I using the brick template and some texture paste I added some background interest.
Next was getting to work with some Lindys products spritzing over the front and back of the tag!


The back shows more of the lovely colours and is still pale enough to write a message on for the recipient!


I covered the keys, locks and corner flourish with gesso and using paints and inka gold.
I had seen this verse awhile ago and thought it was perfect for this project and its what inspired this project!
Printed out in brown to match in with the colour tones I inked the edges with my new Tim Holtz Peacock Feathers di stress ink! .....love this stuff!


Gathering all the elements together and gluing them down I added a little blue butterfly and some gold eyelash trim.


Using my sharpies I coloured in the corner flourish to make it pop,
 cut the link on the lock to hook it around the vine......finished!
 
 
The products from Imagine if I have used are.....


Saturday, 7 March 2015

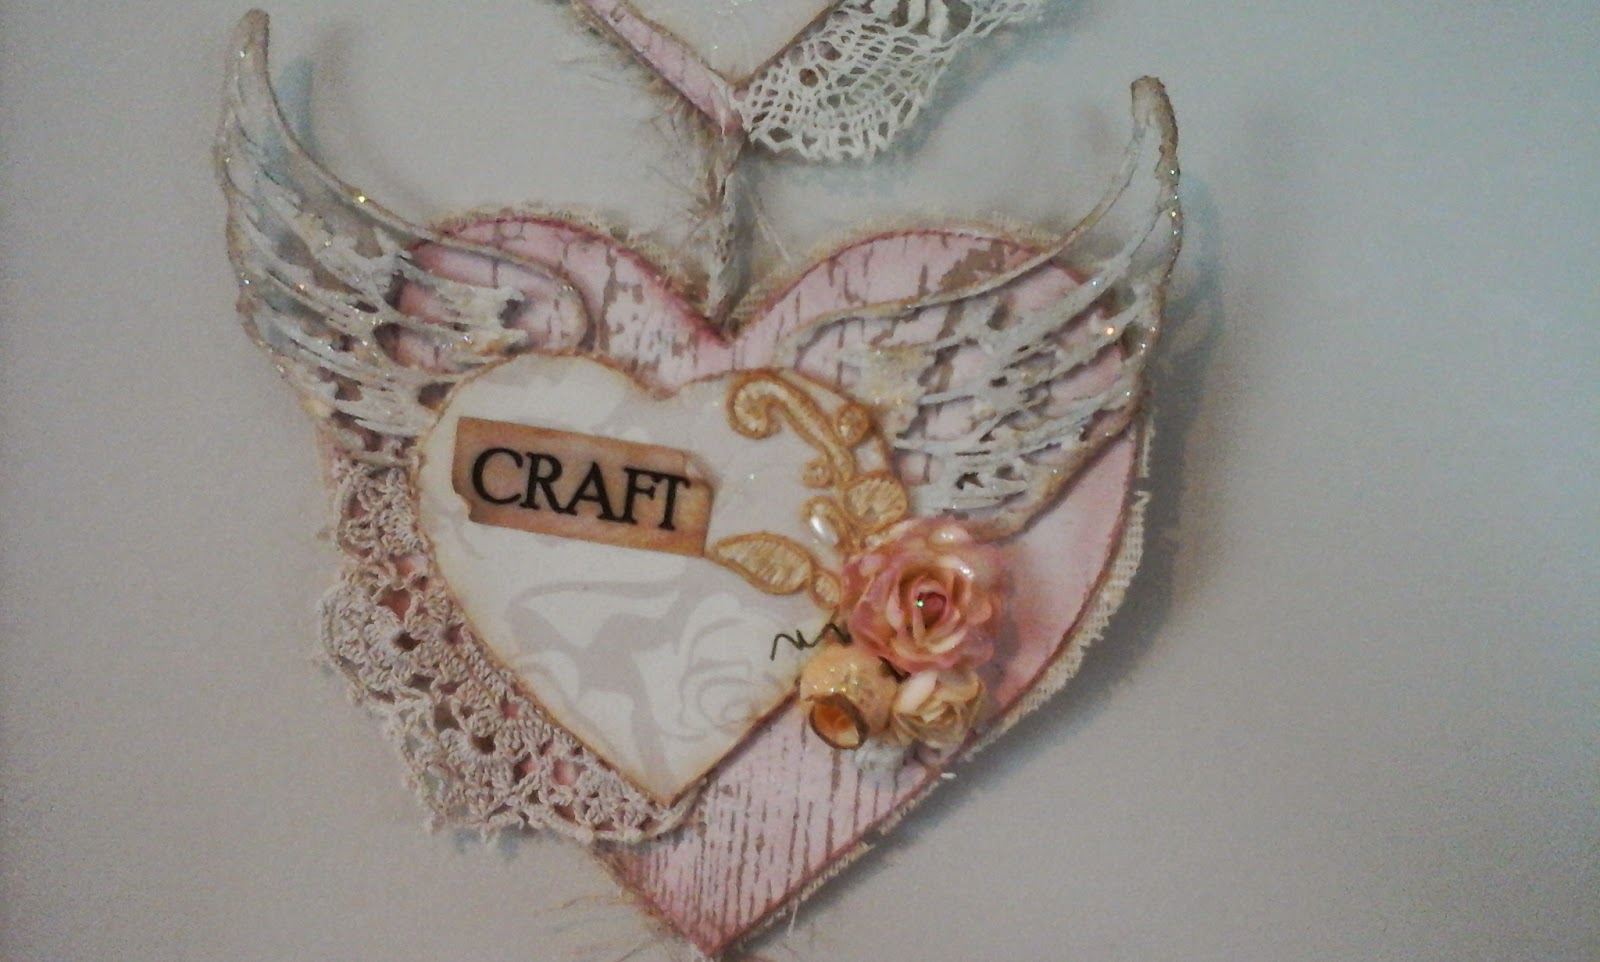
Winged Vintage Hearts

Hi everyone and welcome back to my "Happy Place" 
and another fun project for Imagine if!
 
 
This weeks Themed Design Team project for me is "Wing's"
I have chosen to use these beautiful wings on hearts to hang in my crafting room(when I get one sorted) lol 


I set about giving each wing a coat of gesso then painted with a white paint and the large hearts I cut out from food boxes. (I like to recycle where I can!)
Di stressed the edges and inked with Tim Holtz Victorian Velvet distress ink, then done some stamping with a script stamp and some texture paste.
The small hearts from Imagine if I covered with a lovely paper that has a little sparkle and di stressed the edges and inked with the Vintage photo!


I have also cut out another set of hearts for the back side so its all nicely finished...these I have used gesso on the edges and Vintage Photo ink and covered the backside with a lovely vintage lace.


Now back to those stunning "Wing's"
The first set I have used some texture paste to get some interest!


The next two sets of wings I have used baking soda mixed with white glue! Yes! it looks amazing!


As you can see I have glued down the hearts adding trims, doilies, appliqué, flowers and sentiments to fit with how this inspires me!
Out came the stickles to give sparkle on the wings and flowers.
Finally I added some trims and twisted them to hold all the hearts for hanging..glued on the back hearts to neaten it all up! Finished and ready to add to the new crafty space...... im sure this will inspire me to create and craft!  
I am sure it will inspire you too!
Thank you for stopping by!


Items used from Imagine if can be found here!