Thursday, 7 May 2015

Crafty catch up

Hi everyone and welcome back to my Happy place!
 
Its been just over a month since Imagine if Design Team has finished and I thought I would have a break from crafting!
 
Ohhhh how wrong was I :)
Much crafting for fun with a few catch ups of swaps I am involved in with a few groups and orders to complete for flowers and journals.

And there was a surprise move house again! I am thinking Gypsy might be a suitable name for me these days.....what can a girl do when the owner wants his house back after only 7 months renting ... my little family and I are always up for the challenge ....we are all settled into a much bigger and more comfortable home :)
 
Here are some of the projects!
 
A few of my hand made flowers


A trio of journals!


For a closer look at my journals ......


Friday, 27 March 2015

Steampunk Mermaid Journal Cover

Hi everyone welcome back to my happy place and the last Design Team project for Imagine if!
I have truly enjoyed my crafting journey for the last 12 months creating pretties with the laser cut chipboard and MDF from Imagine if!
 
Remember to go visit for all your crafting supplies!
 
This weeks design Team Project Theme is Dolls and Tails.
I also had some wings to play with from one of my other projects.


Firstly I used some texture paste and a stencil to make the little circles aka barnacles or scales.
Once this was dry I used Tim Holtz distress ink 'peeled paint' over the area of circles I then painted with Inca gold, this gave a lovely effect.

 
For the tail I had a spare piece of paper that looked like scales which was of course perfect!
 I went around the edges with Tim Holtz distress ink 'pumice stone' to give a slight dirty/grunge look.
I then wrapped some string netting around her tail to look a little like she had been caught in some debris.
 
 
I  used some more of the same netting to make her hair, Painted her wings to look like scraps of metal, attached a few chains and an anchor, painted some lips on and placed a heart in her hand.


She makes a great journal cover don't you think?


Tuesday, 10 March 2015

"Locks and Keys" Tag

Hi everyone and welcome back to my "Happy Place"
and another Design Team Project for Imagine if!
 
This week theme is "keys and Locks" I have decided to have a "Play" with some Mixed Media!


The first thing I did to give myself something to work with
 I made an oversized tag measuring 7" x 4" from some sturdy chipboard and gave the back and front a good coverage of gesso.


Then I using the brick template and some texture paste I added some background interest.
Next was getting to work with some Lindys products spritzing over the front and back of the tag!


The back shows more of the lovely colours and is still pale enough to write a message on for the recipient!


I covered the keys, locks and corner flourish with gesso and using paints and inka gold.
I had seen this verse awhile ago and thought it was perfect for this project and its what inspired this project!
Printed out in brown to match in with the colour tones I inked the edges with my new Tim Holtz Peacock Feathers di stress ink! .....love this stuff!


Gathering all the elements together and gluing them down I added a little blue butterfly and some gold eyelash trim.


Using my sharpies I coloured in the corner flourish to make it pop,
 cut the link on the lock to hook it around the vine......finished!
 
 
The products from Imagine if I have used are.....


Saturday, 7 March 2015

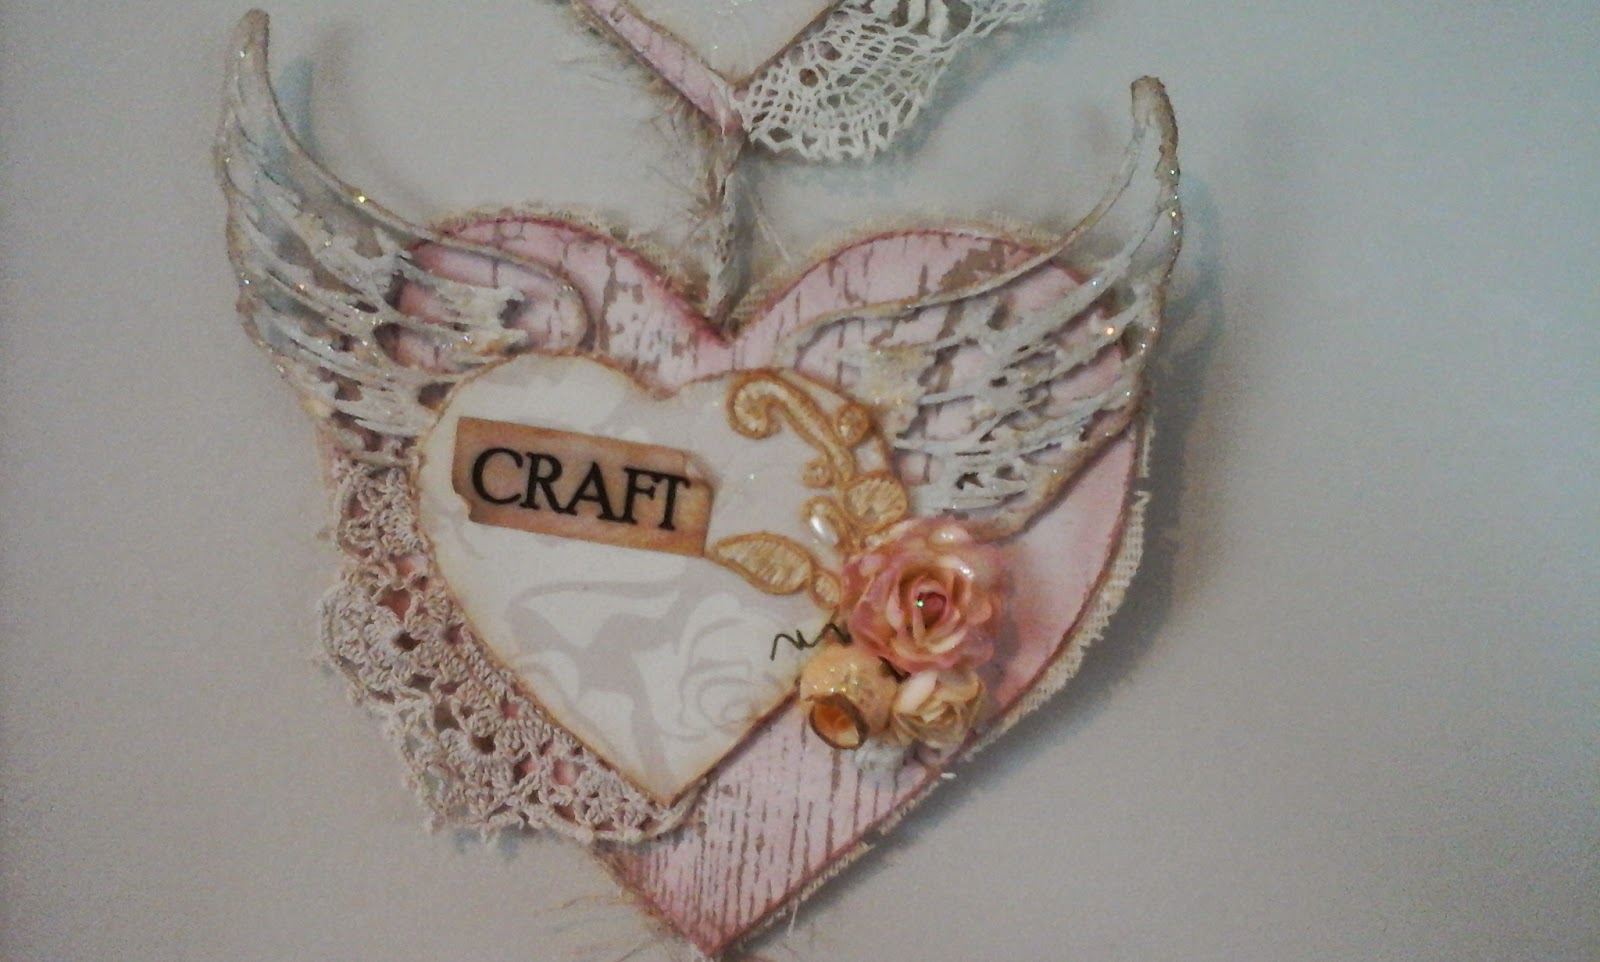
Winged Vintage Hearts

Hi everyone and welcome back to my "Happy Place" 
and another fun project for Imagine if!
 
 
This weeks Themed Design Team project for me is "Wing's"
I have chosen to use these beautiful wings on hearts to hang in my crafting room(when I get one sorted) lol 


I set about giving each wing a coat of gesso then painted with a white paint and the large hearts I cut out from food boxes. (I like to recycle where I can!)
Di stressed the edges and inked with Tim Holtz Victorian Velvet distress ink, then done some stamping with a script stamp and some texture paste.
The small hearts from Imagine if I covered with a lovely paper that has a little sparkle and di stressed the edges and inked with the Vintage photo!


I have also cut out another set of hearts for the back side so its all nicely finished...these I have used gesso on the edges and Vintage Photo ink and covered the backside with a lovely vintage lace.


Now back to those stunning "Wing's"
The first set I have used some texture paste to get some interest!


The next two sets of wings I have used baking soda mixed with white glue! Yes! it looks amazing!


As you can see I have glued down the hearts adding trims, doilies, appliqué, flowers and sentiments to fit with how this inspires me!
Out came the stickles to give sparkle on the wings and flowers.
Finally I added some trims and twisted them to hold all the hearts for hanging..glued on the back hearts to neaten it all up! Finished and ready to add to the new crafty space...... im sure this will inspire me to create and craft!  
I am sure it will inspire you too!
Thank you for stopping by!


Items used from Imagine if can be found here!


Thursday, 26 February 2015

Altered Paint Brush

Hi everyone and welcome back to my "happy place"
 
 
This little paint brush was sitting around just waiting for me to find time to alter it!
 
sooooo ive been looking at it for awhile thinking hmmmm not sure if it was "my thing" but ive also learnt about me on this artistic journey that anything can be altered to become something beautiful to look at or use!
 

Started off with a coat of gesso and two coats of a vintage cream paint all over the metal bits and the handle.
 

I mixed some paint for the candles from imagine if to match the shade of beautiful blue flowers and inked the leaves with di stress ink.
 

The fun part .... putting it all together.....glued some pretty laces and pearl trim to cover the metal wrap on the brush then added diamond bling before adding the cluster of flowers, candles, leaves and pearl spray with a metal butterfly at the top to hide the hole for hanging.


Thursday, 19 February 2015

Minature Armoire/Wardrobe DT project


 Hi everyone and welcome back to my happy place


This weeks Design Team Project is a little MDF wardrobe measuring 12cm high 6.5cm wide and 3cm deep. I decided to do this as a birthday present for my daughter as she is making a little doll house so perfect gift.


First step was to cover the outside in a base coat paper by kaisercraft (their little paper pads have been very handy)


Next was gluing and putting together this was a little tricky as the doors had to be slotted in at the same time so a lot of holding my tongue the right way.


Decorating time. I also had some chipboard frames from Imagine if so I cut the ends off and used Tim Holtz distress stain vintage photo to colour.


With some rose beads for handles, a little hat box and opening shoe box this project was looking complete.....or was it!


A  little skewer for the pole and handy paper clips for coat hangers this was looking pretty cute. 
And complete 


                                                                   Chipboard frame


Thursday, 12 February 2015

Altered Clip Board

Hi everyone and welcome back to my happy crafty place!


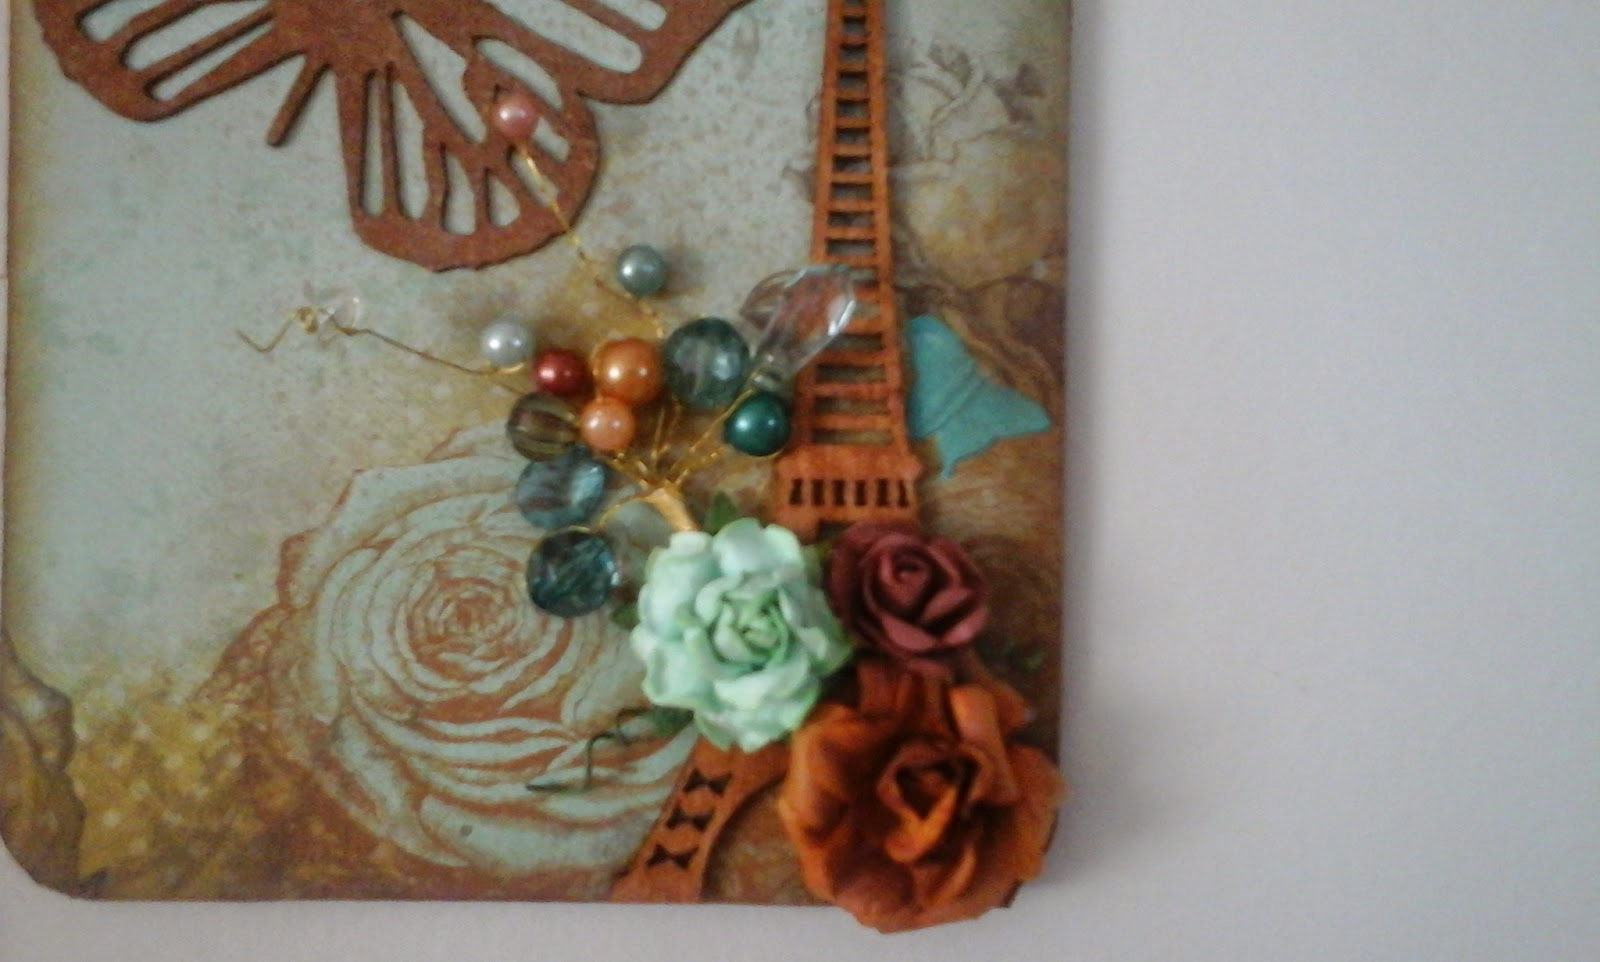
I decided to alter this clip board I was gifted at Christmas in a Vintage French theme and add it to my decorations in my room....you guessed it! French inspired!


The first thing I did was sand the entire board then stained it with Tim Holtz Vintage Photo di stress stain and then selected a paper in the colours I wanted to work with ....this one is Madame Boutique!
Glued to the front and back of the clip board.
 
 
I have inked the edges with Vintage Photo as well for the aged look.


Using the butterfly template from Imagine if I added three of the little ones using texture paste mixed with a little turquoise paint, when it dried I brushed over a little of the ink to tone down the brightness.


With the chosen sentiments and large butterfly from Imagine if and a wooden Eiffel Tower I stained them with the Vintage Photo stain and glued them down.


Finishing off with pearls, a mix of flowers, prima beads and  seam binding threaded through the top of the clip board and tied into a bow to hang!


Hope this inspires you to try some of the products over at Imagine if and create your own crafty projects.


Products used from Imagine if